
Some of the most comforting dishes in the world share one common technique: braising. From French boeuf bourguignon to Indian-style slow-cooked mutton, from Italian osso buco to homely pot roast, braising transforms firm, inexpensive cuts into meltingly tender meals.
Braising is not complicated, yet it requires understanding. It combines dry heat and moist heat in one method, unlocking flavour and texture that neither roasting nor boiling alone can achieve. When mastered, braising becomes one of the most rewarding techniques in cooking.
What Is Braising?
Braising is a cooking method that begins with searing food at high heat and then finishes by cooking it slowly in a small amount of liquid, covered, over low heat. The food is partially submerged rather than fully immersed.
This technique works especially well for tougher cuts of meat rich in connective tissue, such as beef chuck, lamb shanks, short ribs, or pork shoulder. It also suits hearty vegetables like cabbage, fennel, and leeks.
The key idea is balance: first build flavour through browning, then gently tenderise through moist heat.
The Science Behind Braising
Braising succeeds because of two scientific processes.
First, searing triggers the Maillard reaction, creating complex browned flavours on the surface of the food. These flavours form the foundation of the dish.
Second, slow cooking in liquid breaks down collagen — the connective tissue found in tougher cuts of meat. As collagen slowly converts into gelatin, it softens the meat and enriches the cooking liquid. This is why braised dishes often have silky, full-bodied sauces.
Time and gentle heat are essential. Too much heat tightens proteins and makes meat dry instead of tender.
The Essential Steps of Braising
Although recipes vary, braising generally follows these stages:
1. Seasoning and Searing
Season the meat well. Heat a heavy pot or Dutch oven with a small amount of oil. Sear the meat on all sides until deeply browned. This step builds flavour and should not be rushed.
Remove the meat once browned.
2. Building the Base
In the same pot, sauté aromatics such as onions, garlic, carrots, or celery. Deglaze the pan with wine, stock, or another liquid to lift the browned bits from the bottom.
These browned bits add depth to the final sauce.
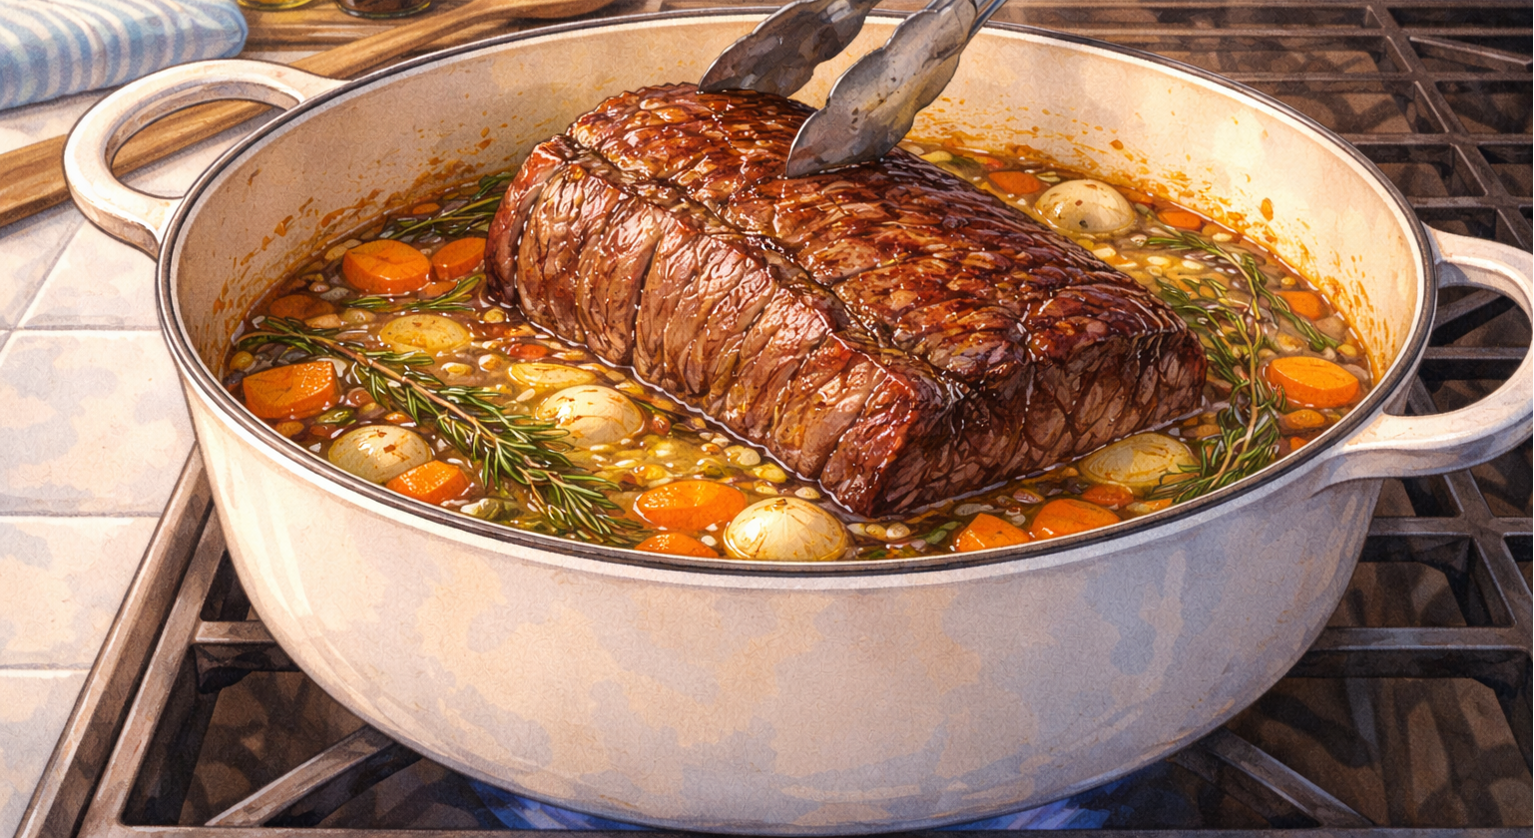
3. Adding Liquid and Slow Cooking
Return the meat to the pot. Add enough liquid to come about halfway up the sides. Cover the pot and cook gently on the stovetop or in the oven at a low temperature.
The liquid should simmer gently, not boil vigorously.
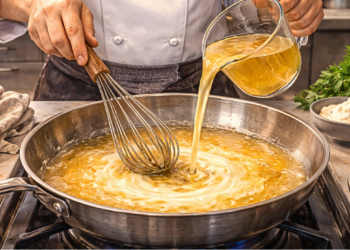
4. Finishing and Reducing
Once the meat is fork-tender, remove it carefully. Reduce the cooking liquid if needed to concentrate the flavour. Adjust seasoning before serving.
Choosing the Right Cut
Braising works best with cuts that contain connective tissue. Examples include:
- Beef chuck or brisket
- Lamb shanks
- Pork shoulder
- Short ribs
- Oxtail
Lean cuts, such as tenderloin, are not suitable because they lack collagen and can dry out during long cooking.
Understanding your cut is as important as understanding the method.
Choosing the Right Liquid
The braising liquid contributes flavour and moisture. It may include:
- Stock or broth
- Wine
- Beer
- Tomato-based sauces
- Coconut milk in some cuisines
Often, cooks combine stock with wine or tomatoes. Herbs such as thyme, bay leaf, or rosemary add aromatic depth.
The liquid should enhance, not overpower, the main ingredient.
Braising Meat vs. Braising Vegetables
While most commonly associated with meat, braising also suits vegetables.
Cabbage, fennel, and endive respond well to gentle cooking in butter and stock. Root vegetables such as carrots or turnips become tender and glossy when braised.
The principle remains the same: initial browning followed by slow cooking in a small amount of liquid.
Common Mistakes to Avoid
Although forgiving, braising can go wrong if rushed.
Skipping the Sear – Without browning, flavour remains shallow.
Using Too Much Liquid – The food should not be fully submerged; that becomes stewing.
Cooking at High Heat – Vigorous boiling toughens meat.
Under-Seasoning – Long cooking requires careful seasoning adjustments at the end.
Patience ensures tenderness and balance.
Braising vs. Stewing
These two methods are often confused. The difference lies mainly in size and liquid quantity.
In braising, larger pieces of meat cook partially submerged. In stewing, smaller pieces cook fully immersed in liquid.
Both rely on slow cooking, but braising typically produces more structured pieces served intact.
Why Braising Creates Comfort Food
Braising appeals because it transforms simple ingredients into deeply satisfying meals. The aroma fills the kitchen slowly. The meat softens gently. The sauce thickens naturally.
It also encourages thoughtful cooking. Since it requires time, it invites anticipation. Many braised dishes taste even better the next day because flavours continue to develop as they rest.
Across cultures, braising appears in traditional family recipes, often associated with gatherings and shared meals.
Equipment for Successful Braising
A heavy pot with a tight-fitting lid works best. Cast iron or thick stainless steel distributes heat evenly and prevents scorching.
Oven braising provides steady heat from all sides, while stovetop braising allows closer monitoring. Both methods work if the temperature remains low and consistent.
Final Thoughts: The Beauty of Slow Transformation
Braising teaches an important lesson: time and gentle heat can achieve what force cannot. Instead of fighting tough cuts, it works with them, gradually softening and enriching.
From rustic stews to refined French classics, braising remains one of the most dependable and flavourful techniques in cooking. It rewards patience with tenderness and depth.
When you braise, you do more than cook. You transform.


