
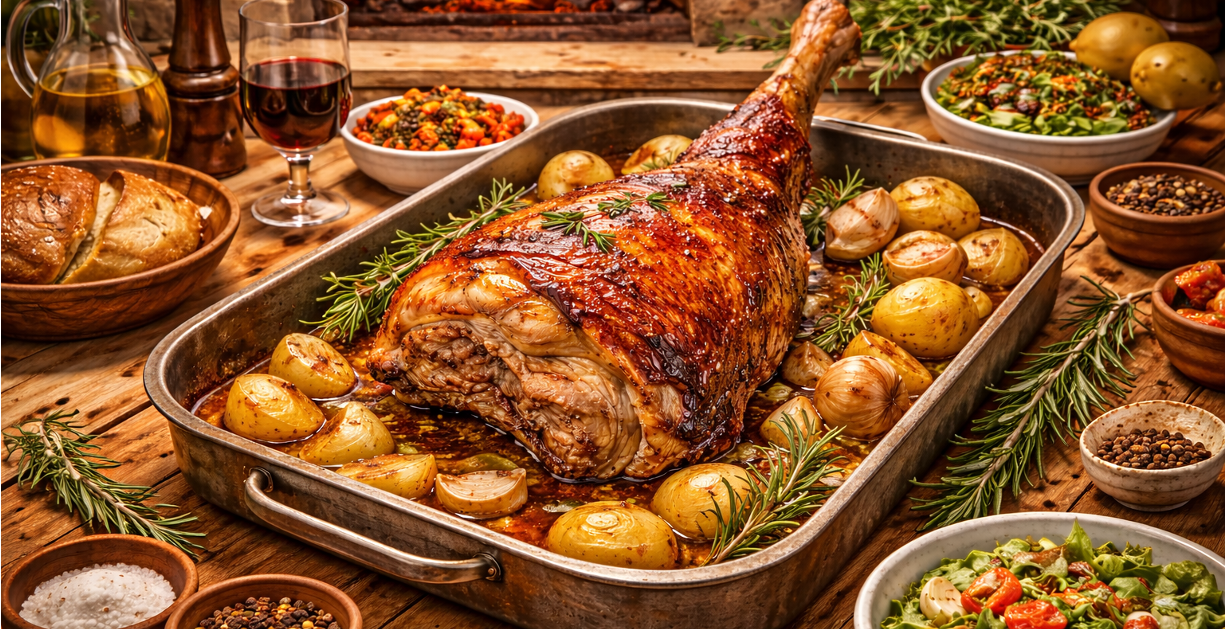
In Castilla y León, lamb is not flamboyant food — it is elemental. Slow Roast Lamb is the kind of dish that embodies the region’s deep-rooted traditions. Cordero asado (roast milk-fed lamb) comes from a landscape of dry plains, stone ovens, and long winters. Here, cooking is about time, heat, and respect for the animal, not elaborate seasoning. The goal is crisp skin, melting fat, and tender, almost spoonable meat.
Why this dish works
Traditional cordero asado is cooked in a wood-fired horno de leña, where steady, enveloping heat gently renders the lamb’s fat while keeping the interior succulent. The seasoning is almost shockingly simple: salt, water, and sometimes a little garlic. The flavour comes from quality lamb + controlled heat + patience.
At its heart, this dish teaches three classical roasting principles:
- Gentle start, strong finish
Low heat first renders fat without drying the meat. A hotter finish crisps the skin. - Basting with purpose
Liquid (water or stock) in the tray creates steam, protects the meat, and dissolves drippings into a light natural jus. - Resting is non-negotiable
Resting lets juices redistribute so the lamb carves cleanly rather than weeping.
Home recipe: Cordero asado (serves 4–6)
Ingredients
- 1 whole cordero lechal (milk-fed lamb) or 2 lamb shoulders/legs (2–2.5 kg total)
- 2 tsp fine sea salt
- 2 garlic cloves, crushed (optional)
- 300 ml hot water (or light lamb stock)
- 2 tbsp olive oil
Method
- Season & dry
Pat lamb very dry. Rub lightly with salt (and garlic if using). Leave uncovered in the fridge 6–12 hours — this helps crisp skin. - Set up the tray
Place lamb skin-side up in a deep roasting tray. Add hot water to the base (not over the lamb). Drizzle with olive oil. - Low roast (2 hours)
Roast at 140°C fan / 160°C conventional. Baste once halfway through with pan juices. - Crisp the skin (30–40 mins)
Increase to 200°C until the skin is blistered and golden. If needed, pour off excess fat first. - Rest (20 mins)
Tent loosely with foil. Skim fat from the tray, warm the remaining juices, and serve as a light gravy.
To serve
Classic sides are patatas panadera (thin sliced potatoes baked in lamb fat), roasted garlic, and a simple green salad.
Technique notes for better results (home-cook level detail)
- Start with truly dry skin.
After salting, leaving the lamb uncovered in the fridge is not optional — it dehydrates the surface so the skin can blister rather than steam. If the skin still feels damp, pat it again with paper towels before roasting. - Use a deep tray with space.
A cramped pan traps moisture and blocks browning. You want air circulating around the lamb, so choose the largest tray you have. - Create controlled steam, not a bath.
Add hot water only to the base of the tray so it sits below the lamb. You should see gentle bubbling, never a boiling pool touching the meat. - Baste sparingly.
One light baste midway is enough. Too much basting cools the oven and softens the skin. - Render first, colour later.
The low-temperature stage is about melting fat slowly. If you rush this, the lamb will be dry when you turn up the heat. - Before crisping, pour off excess fat.
Too much fat in the tray creates smoke and soggy skin. Keep just enough liquid to glaze the meat. - Use the top of the oven for the final blast.
Heat rises — this helps blister the skin evenly. Watch closely so it colours, not burns. - Rest on a rack, not in the tray.
Resting elevated keeps the underside crisp and lets juices settle inside the meat.
Follow these steps and you’ll get shattering skin, juicy meat, and a clean, natural jus every time.


